The pass-through, connecting the cab with the camper unit, is also known as the pass-thru, crawl-through, crawl-thru, walk-through, emergency hatch, … And even more variations exist in their size and construction.
We decided very early that we really wanted one in our expedition truck. Not one to be only used in emergencies, but one we can comfortable use everyday .
Why we installed a pass-through?
Our camper unit is so high above the ground that we can’t access it from the outside without the use of a ladder. And the ladder we have is not small or particularly light. As such, putting the ladder into place and stowing it back away always takes up a few minutes, which can be frustrating in certain situations. For example, when:
- it’s raining cats and dogs. (fyi. as a non-native speaker I love this english expression),
- we, okay okay mostly when I, forget something inside the camper after stowing the ladder away,
- we’re driving and I need to use the bathroom (and don’t want to pay … € for a public restroom or don’t find a bush to hide behind)
- we quickly want to put our groceries away. We already attract enough attention by parking our truck at the grocery store’s parking lot.
The pass-through would dissolve these frustrations. On top of that it has a few more advantages:
- we can now grab something from the back when we’re stuck in a traffic jam (which still happens to us from time to time),
- we can heat up the cab in the morning before turning on the engine,
- we can probably sell the fridge/freezer box we had in the cab since we can easily access the fridge in the camper,
- we no longer need to haul our valuables and snacks back and forth between the cab and camper.
- and we wonder how the border control officer will react when we open the camper’s door from the inside 🙂 (We’re “checked” for “…?…” at every border control, giving the officers the chance to look inside this mysterious truck.)
How did we construct our pass-trough?
Openings / Cut-outs
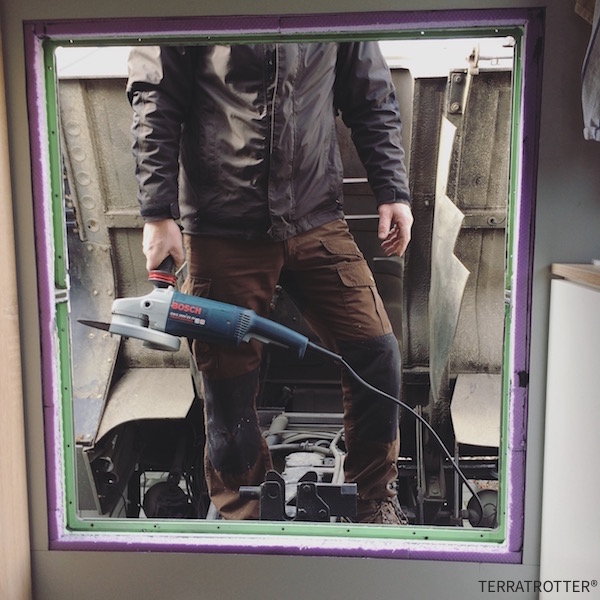
The Zeppelin-shelter – the base for our camper unit – came with two large rectangles openings on the side (where originally a heater was installed; see image on the right). Since these rectangles were right above another we could easily make one big “square” opening from them; the perfect size for our pass-through.
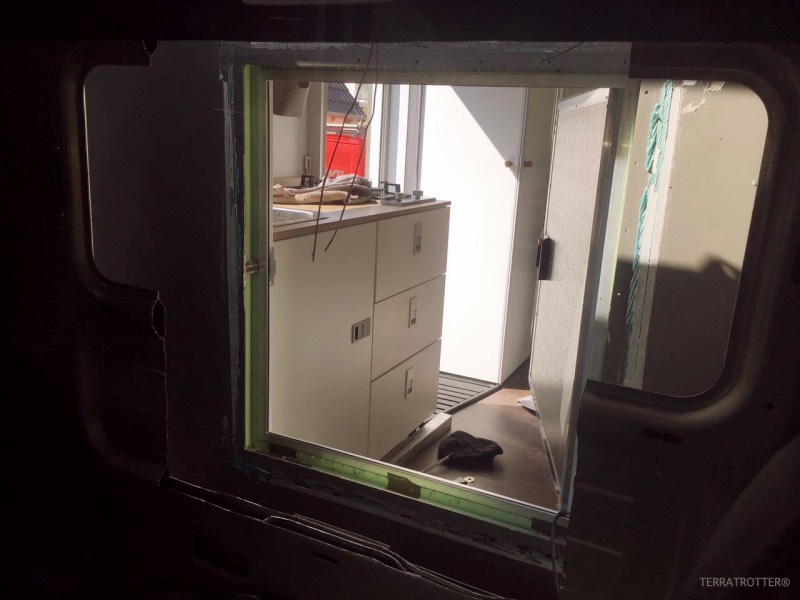
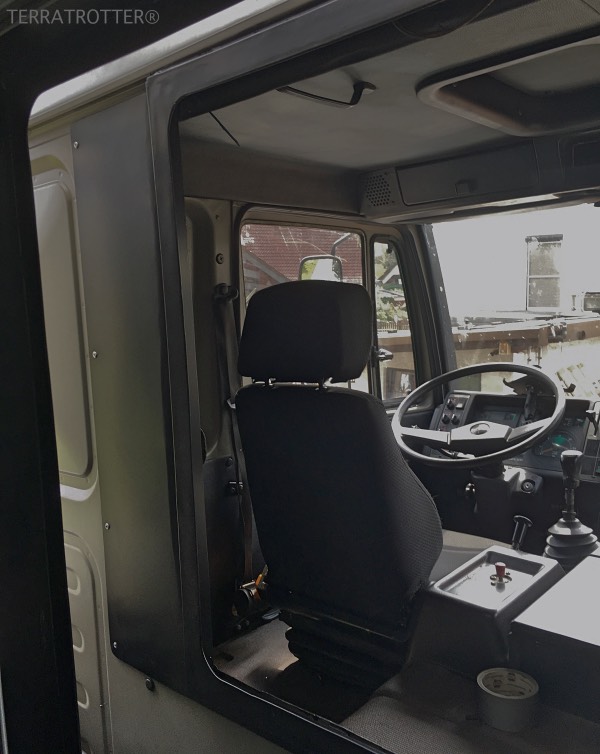
Out the backside of the cab we cut out the same size opening, which coincidentally had the maximum height possible for the cab. Only the window in the back of the cab had to go. So far, so good.
Doors
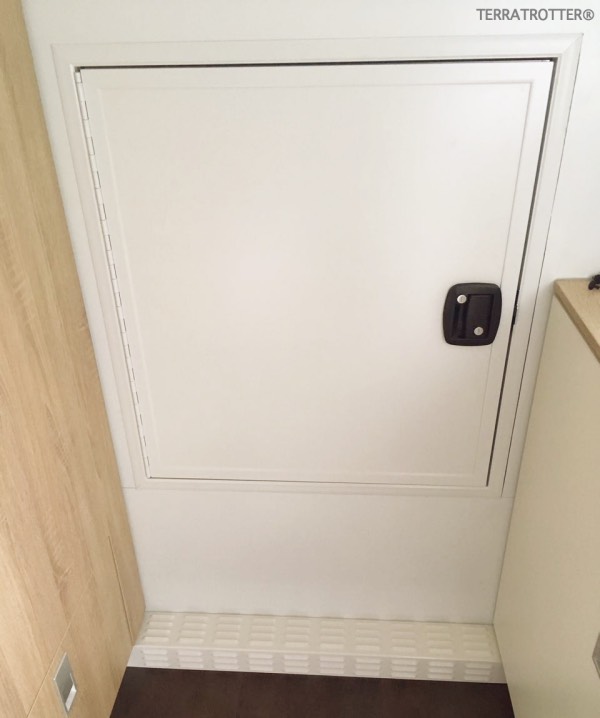
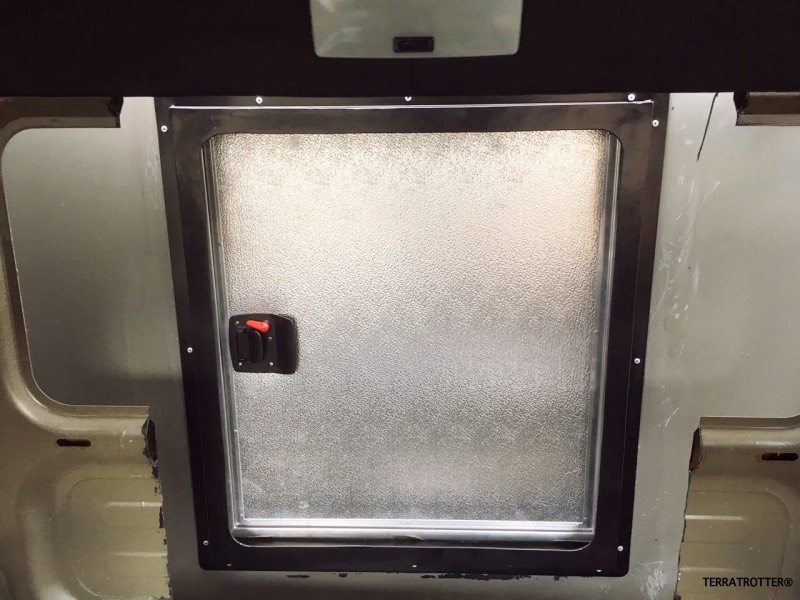
For the doors it took a little longer to find a good and affordable solution. We eventually ordered custom-size aluminum hatches (doors) from a German company that normally builds these hatches for trailers. The only thing we still needed to do was to paint one side white to match the interior walls of the camper.

Connection
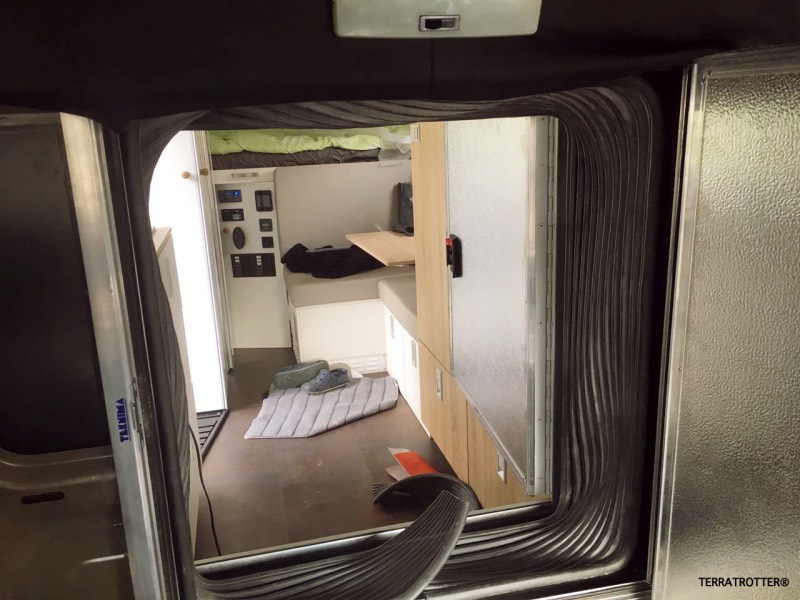
Finally we bought 3 meter “accordion-rubber” (no clue how this is called; in German it’s called Faltbalg) to connect the 2 doors.
Since we can kip the cab forwards, we don’t want the rubber to be “permanently” attached with screws or bolts. Instead we had two frames made, based on the design from Videomundum (THANK YOU), around which the rubber is wrapped around.
In addition, we extended the frame on the cab so it would also cover the holes from where once the window was.
Now we have everything to create the pass-through. Woohooo
UPDATE: During our first day driving with our pass-through we already used +5 times. It’s definitely one of the best thing we installed!
Be the first one to discover what we are up to by joining our family (free monthly newsletter; incl. access to our password-protected articles).