
Wondering about how to build a bed in your expedition vehicle (or other tiny house)? We will tell you everything about why we build our bed on rails and give you all the details to build one yourself.
That we wanted a fixed bed in our truck, that we could just jump into when tired, was not up for discussion. In the past we did not have this luxury. We were traveling with a pop-up roof (rooftop tent) requiring all the blankets to be folded very neatly before closing the roof. Of course it did not help that we had two full-size blankets, our pillows and pyjamas up there. But folding and rearranging everything became a real chore after 2 weeks. We are not the only ones though. Similar aggravations have been reported by overlanders whom have to transform a bench into a bed. Thus, a fixed bed it would be.
But what about accessing the storage space underneath the bed? In many expedition trucks there is a hatch on each side of the truck (or a big one at the back) which allows you access to this storage area (often called the garage). These hatches are not only expensive, they are also prone to let buckets of sand in. In addition, it is a challenge to reach everything in this garage with ease, especially if you have big wheels like we do. Luckily we came across a better solution. Our friend Holger from HS-folientechnik had build his bed on rails. What an ingenious solution!
Note: In a later stage we modified our bed even more to make it even easier to access the storage space underneath.
What are the advantages?
This type of construction allows you to:
- move the bed upwards when more wiggle room is needed in the storage area.
- slightly tilt the bed if the truck is not standing level. (no need to keep repositioning the truck or placing rocks underneath the tires until truck is leveled; you can always sleep comfortable now)
- secure the roof window above the bed by sliding the bed upwards. (the roof window is a popular point of entrance for a person with malicious intentions)
How to build a bed on rails?
First, we ordered the most critical elements.
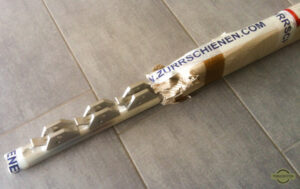
- Lashing rails and sleds from Zurrschienen.com *
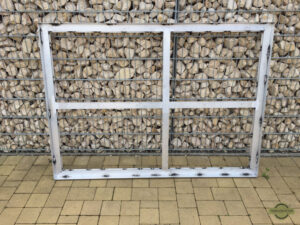
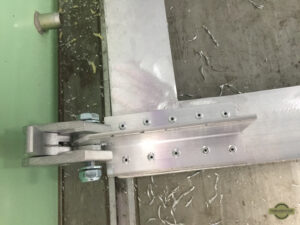
- An aluminum custom-made bedframe from a local welder.
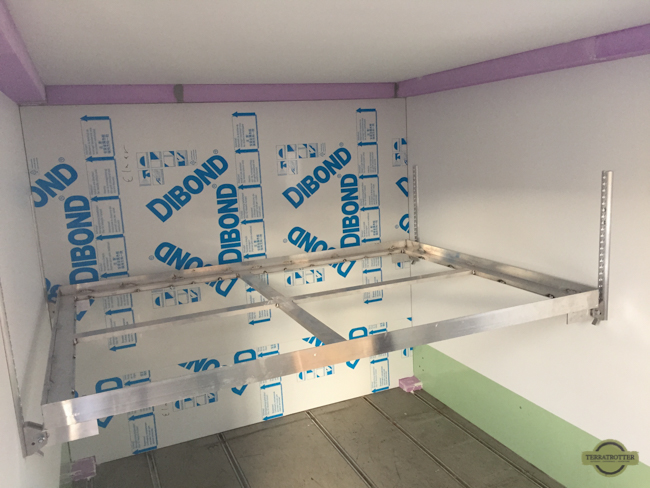
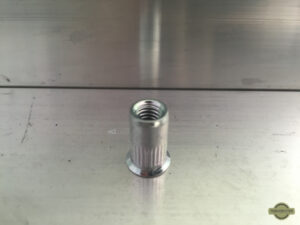
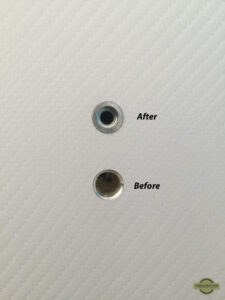
First, we installed rivet nuts (size M6) into the areas of the walls where once the original horizontal rails were located. Here the aluminum wall is 4mm thick instead of 2mm.
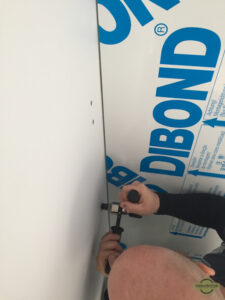
We mounted the lashing rails to the walls using rivets and extra strong double sided tape. The length of the rails depend on: how much room you want/need underneath the bed (e.g., height of the watertanks), if you will install cabinets above or want to sit up straight in bed. Remember, a bed too close to the ceiling will restrict the airflow.
Next, we connected the bedframe to the sleds using an aluminum t-beam. And voila, the bed on rails is installed.

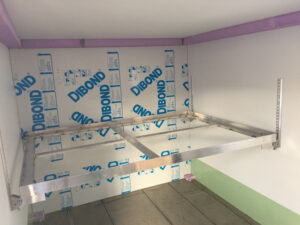

But we didn’t stop here with customizing our bed. Discover in a second post what we did as well.
*Disclosure: We received a promotional discount from Zurrschienen.com on our purchased products.