This week we have installed a roof fan in our expedition truck. Although the installation itself went smoothly we had some unexpected prepping to do.
Why a fan?
One person can generate up to 1.5 liter of extra moisture in the air. If you also cook, shower, dry wet clothes, … in your vehicle the humidity level will rise even quicker. Therefore, like your regular mortar-and-brick house, proper ventilation in your expedition vehicle is crucial to prevent mold, pests, water-related damage to any construction, …
To ventilate your home on wheels you can open doors and windows. To improve air-circulation you will notice that in most RV’s, caravan, expedition vehicles, etc. furniture is installed a few centimeters away from the walls so air can move behind it.
If you remodel an existing container as your living unit you also have to be aware of the potential cold-bridges, which create an extra condensation challenge. We wrote in a previous post how we tried to minimize impact of the cold bridges in the FM2 shelter.
But all these measurements are not always enough or possible. Imagine you just took a shower, and it’s too cold or hot to open the windows long enough or there is simply no wind to move any air in your vehicle. In such cases a fan will offer a welcome solution. It will make a big difference in comfort.
Especially on warm summer nights a fan that can also blow air in your vehicle will create that cooling breeze for a good night sleep.
Our Fan-Tastic Vent
Central features (model 7350):

- Energy efficient (less than 3 Amp on High)
- Dome opens and closes automatically, incl. additional option to operate it manually
- Rain sensor
- Quiet operation
- Variable speed; Thermostat activated or manual
- Reversible air flow
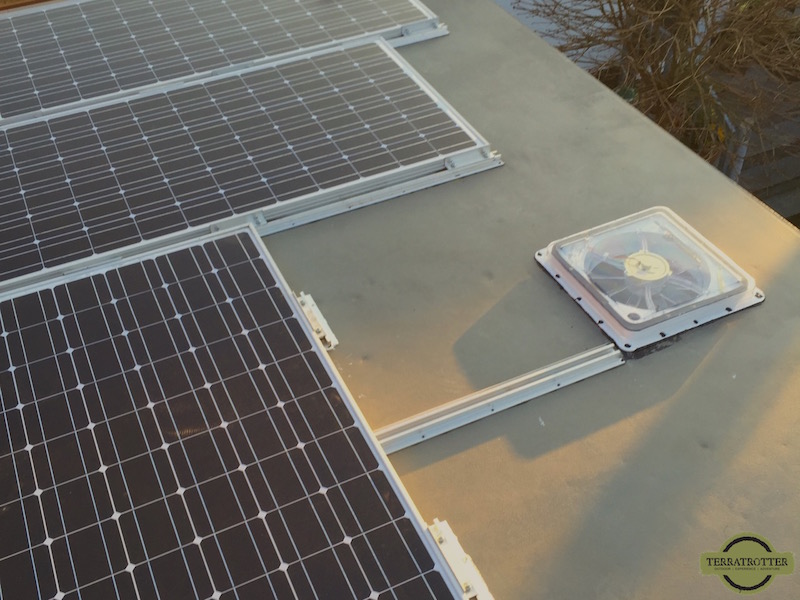
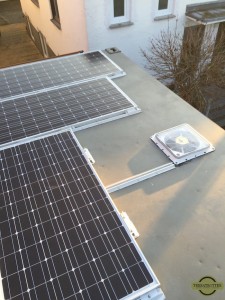
- Adjustable to various roof thickness & Low profile (same height as our solar panels)
Read more customer reviews!
Installation
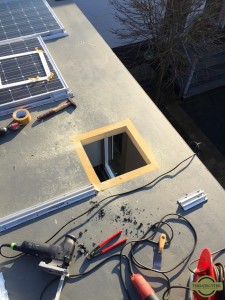
The fan fits a standard 14″ x 14″ vent opening. Since we were not replacing an existing one, we still had to cut a hole in our roof. We decided to install the fan in the bathroom of our expedition truck.
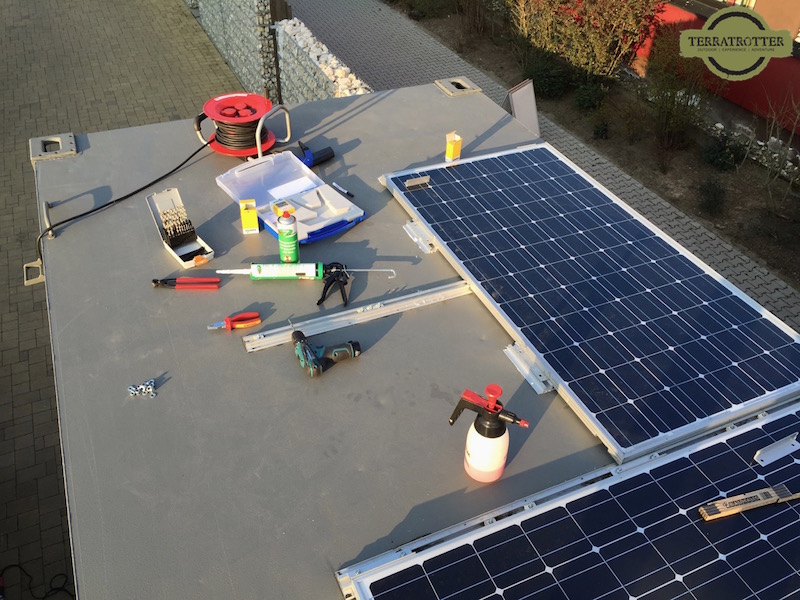
In the planning of the solar panels and the vent opening on the roof we had forgotten to take in account the extra insulation we had installed. As a result we had to turn one of the solar panels 90º so we had enough room for the vent.
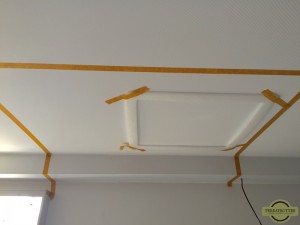
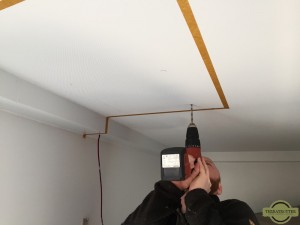
Luckily the fan comes with a styrofoam template to help you trace the outlines. We started on the inside of the truck. We marked the opening on the ceiling and drilled a hole in each of the 4 corners.
Next, we placed the template up on the roof, lined up with the holes. We traced the outlines of the vent opening and cut out the hole with a jigsaw. Don’t worry if it is not perfectly straight, the vent trim will cover any uneven cuts. When placing the fan in the opening make sure the hinges are facing the front of your vehicle. Hopefully this will prevent the the dome from ripping off when you forget to close it when driving away. We sealed the fan to the roof with screws and silicone.
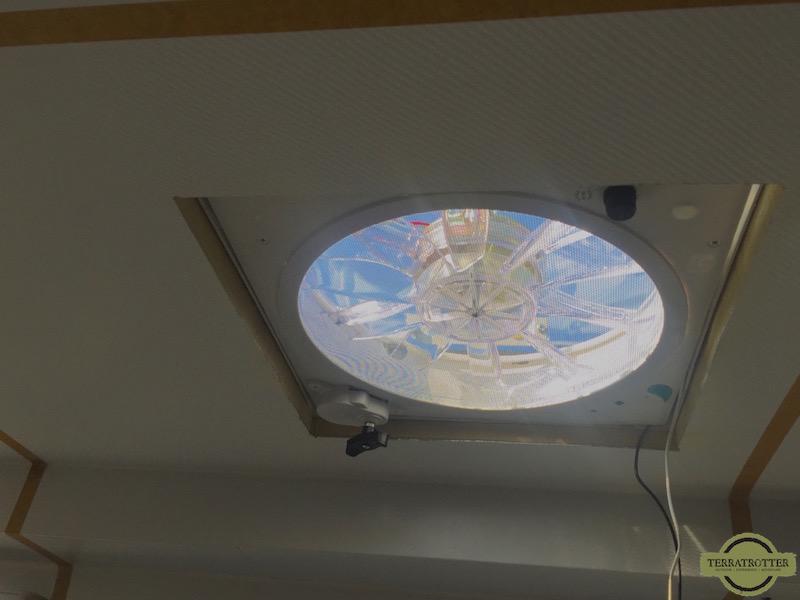
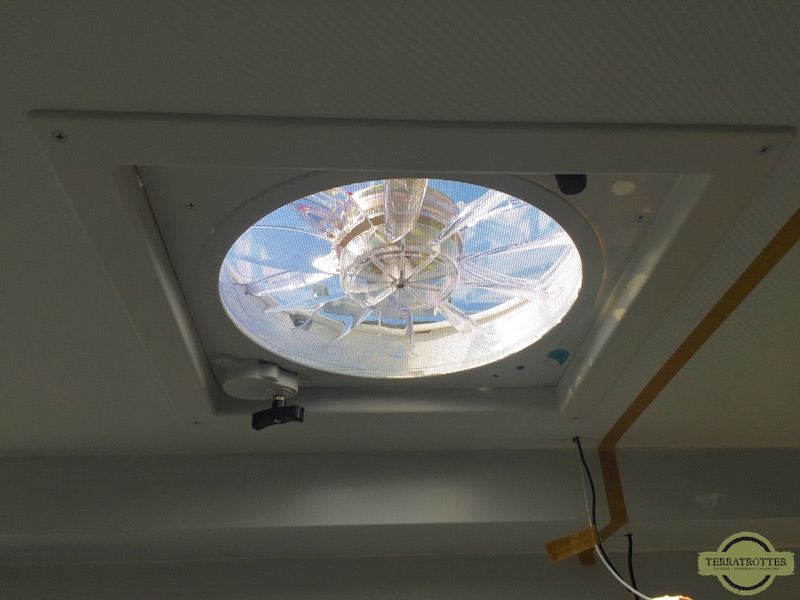
We returned back to the inside of the living unit to finish the interior. The fan comes prewired (12V) power, which we pulled through the ceiling insulation to its designated exit point. The interior trim of the fan had to be cut smaller (height) to fit our roof thickness. Once attached to the ceiling our fan was fully installed.
Buy this fan online: ![]()